When you’re making mixes, it’s important that they sound great. Not just the tunes you play, but the overall quality of your audio. It’s all well and good playing amazing music, but if it doesn’t sound amazing, that can be the difference between listeners tuning in or not.
This doesn’t mean you have to fork out a lot of money to do this. But it all comes down to having great equipment, a keen ear and the right music platform. Here’s all you need to know about how to get professional quality audio for your mixes.
Make sure you have the equipment you need
First and foremost, when you’re recording a DJ mix, your gear needs to be in top shape for that quality sound. Whether you spin vinyl or use CDJs, taking good care of your equipment is a great first step to avoid your sets sounding distorted.
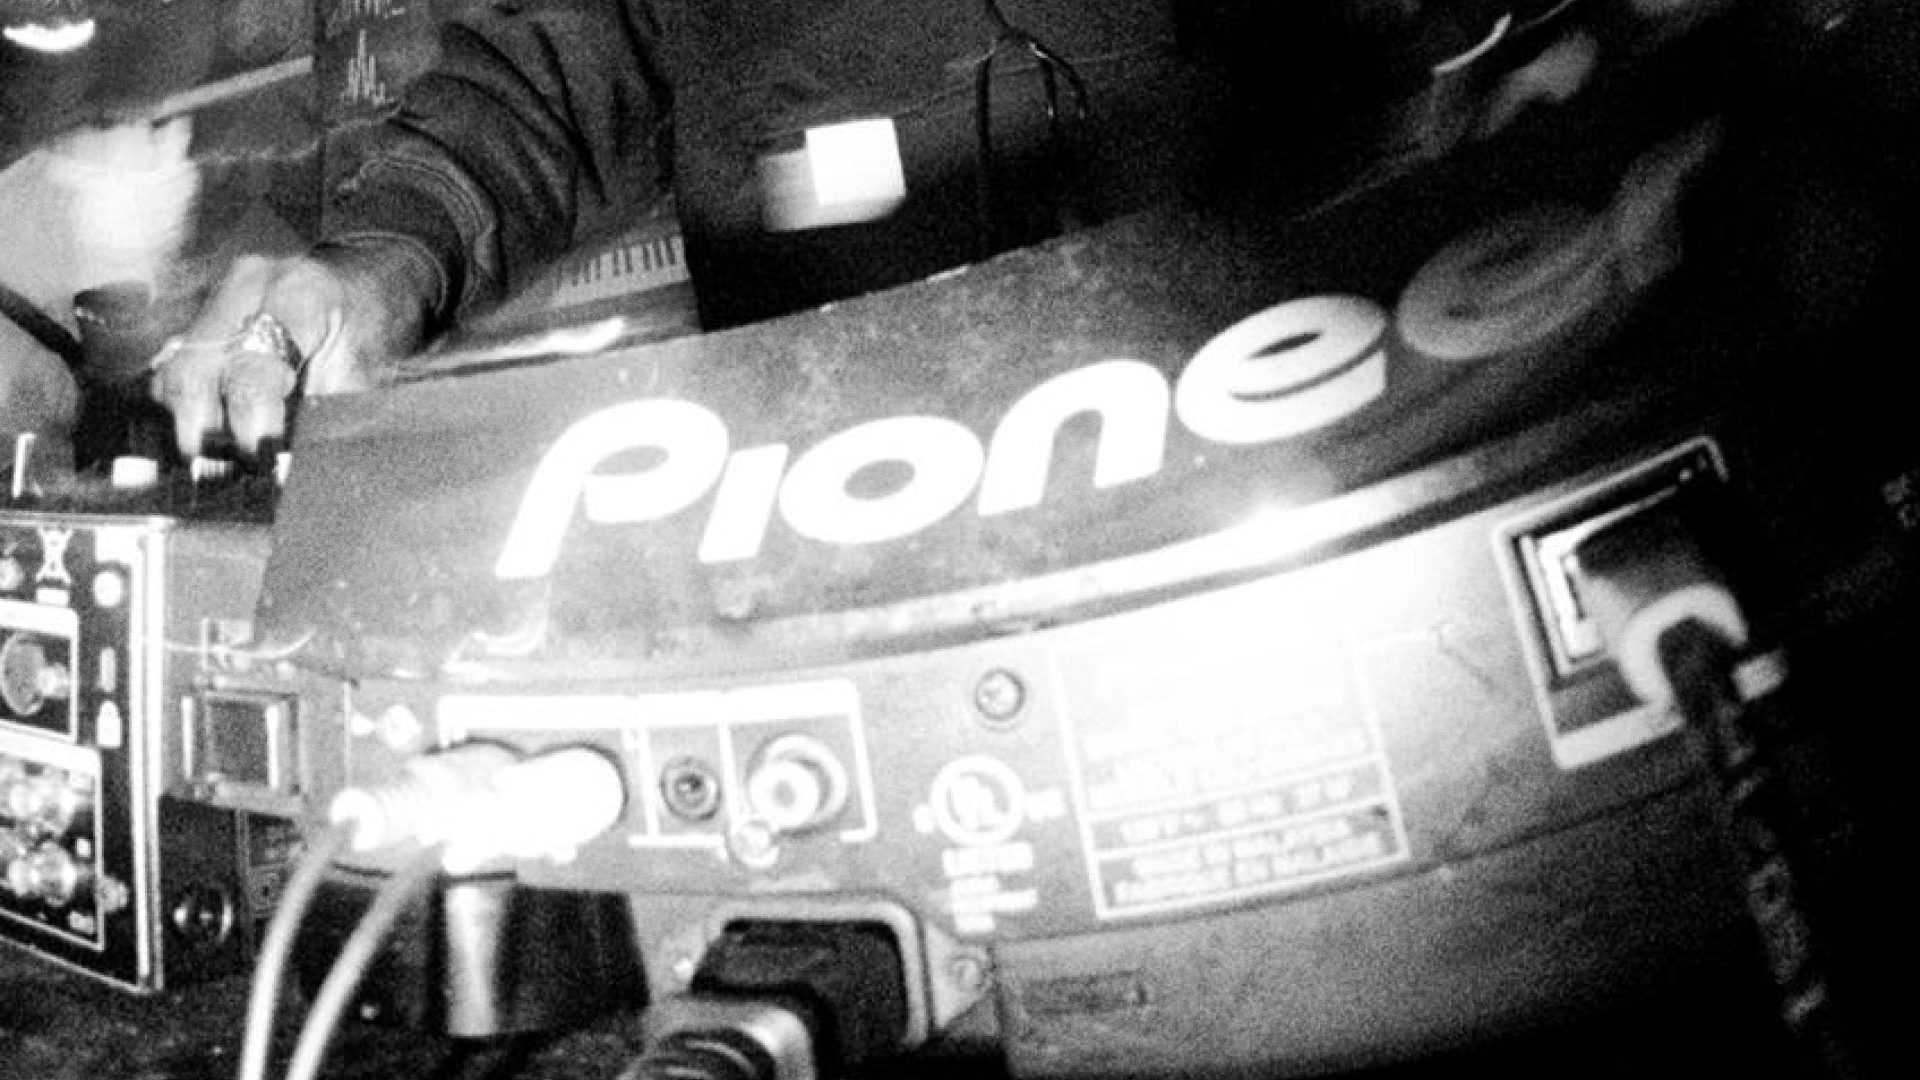
Let’s say you record using a pair of Pioneer CDJ-3000s with a DJM-A9 mixer right into your DAW (Digital Audio Workstation). How your decks are set up is important. Do not use old, damaged, or low-end audio cables to connect your decks to your DJ software. They can be a reason behind a low-quality signal. Make sure the contact point between your cable and device isn’t dirty, rusted or broken. This reduces the chance of feedback seeping into your mix. If you have years of dust accumulated in your DJ gear then check your mixer’s faders and clean them.
For an extra push towards a professional sound, it also might be worth investing in a USB interface, usually a soundcard. This converts your audio signal into a digital format that your computer can recognize. Some mixers have them built-in. If yours don’t, then products like the Focusrite Scarlett 2i2 and Behringer UMC202 HD are good, reliable shouts. These super cost-effective options give you even more control.
Next, download DAW software onto your computer. This is a program which allows you to process, edit and export your recorded audio. If you don’t want to add to your budget, go for the best free option available: Audacity. This user-friendly tool is great if you’re simply looking to record and upload.
Use high quality tunes
Give your mixes a headstart by buying or downloading tracks in the highest quality possible. If they sound great, that’s half of the work done in terms of making the mix sound right. Whatever tunes you’re after – and wherever you get them – make sure you obtain files in WAV, FLAC, AAC or AIFF formats. Each has their own individual benefits, but ensure your music sounds crisp either individually or as part of your mix.
When the time comes for you to play a live DJ set, your high quality tunes will keep a level of smoothness to your performance. As you’ll be playing music at a high volume, they won’t clip or distort like lower quality audio files might. That way, the crowd will get unexpected surprises! The same goes for when you’re recording a mix at home. Once you start to apply techniques like mastering to the equation, you’re on the road to a professional sound.
Get your levels right
When recording a mix, the easiest thing to do is to connect your laptop to your mixer or to your external soundcard. Open up Audacity, or your software of choice, and start recording. When you finish and click export, you’ll have a high definition audio file made up of all the sound that passed through your mixer. It’s common for DJs to record audio at a very high level, but when your levels are too loud, your audio will start ‘clipping’ and the sound will get distorted. While you’re recording, be a little cautious and lower the levels. You can always nudge the volume up whilst editing, which we’ll get to in a little bit.
The optimum recording levels will depend on what you’re recording and what equipment you’re using. Experiment with what works for you. But make sure you leave a little bit of ‘head room’ so that you have some space to make adjustments while you’re mixing. It’s also worth thinking about where you’re recording. Whether you’re recording at home or a professional studio, a bit of planning in advance can help you control how your audio will sound. If you’re recording a live mix in a nightclub, there’s little you can do to affect what happens. But that’s part of the excitement. Or, if you’re recording a mix at home and something goes wrong, you can always edit it afterwards with your DAW or start again.
If your recorder or soundcard allows for multiple inputs and you’re using an application like Audacity, you can choose to record each audio source to a different channel. This means when you click record, although everything is recording at the same time, it’s being saved separately. Doing this gives you the flexibility to individually edit and mix the levels of each part.

Get your mix mastered
Now that your mix is done, consider getting it mastered. This means making sure that the volume of each individual song is even throughout. Because you’ve recorded your set at a low volume level, you have plenty of room to make it sound big, bold and clean in the mastering phase. It can be done in the following ways:
- On a DAW if you work from one
- In a studio with an engineer
- On music websites that offer mastering, like LANDR or eMastered.
Here, you can use extra EQ, limiting, enhancement and compression to make your set sound professional and ready for your fans to listen to online. Then, in the final master, you can increase the overall volume of the mix so that it reaches a level just before clipping. That way, your set sounds as clean as possible. On top of that, you can take more preventive action. Use a limiter on the entire mix so that any clipping from individual tracks is handled. With so many options available, mastering is a great gateway to an amazing sound.
When mastering is done, export your set in the highest possible quality. Commonly, you can export into MP3, AAC, M4A, MP4 audio or OGG files. So if you’re exporting as MP3, make sure you choose 320kpbs, which is the highest quality for that file.
Upgrade to HQ Audio
If you upload your sets to Mixcloud, a Pro subscription will unlock HQ Audio for your content. We automatically upgrade your sets to three times the standard bitrate. This gives it a rich sound that immediately makes it professional. In turn, your fans can listen to your mixes in the best quality possible. Which might encourage them to return to your Mixcloud profile, listen again and share your work. We know how much time and effort you put into your mixes, so we’ve given you the option to make them sound even better.
A great sound takes you a long way!
For all of the hard work you put into your mixes, they deserve to have the highest quality sound you can give them. There are multiple ways to achieve this, and with these upgrades, your mixes will be able to travel further and draw more people in!
